How We Replace Bottom Seals on Large Garage Doors
Learn how we replace worn bottom seals and weatherstripping on large or commercial-style garage doors, plus when it’s smarter and safer to call a pro.
When Your Barn or Shop Doors Start Letting in Dust, Bugs, and Drafts
We recently got a call from a customer — let's call him Mark — who had just bought a large barn-dominium property. The building had several big, commercial-style insulated garage doors: one 14x14, three 10x10 doors on the shop side, all of them with bottom seals that were clearly past their prime.
Mark told us the doors still operated fine, but the bottom seals and weatherstripping were cracked, flattened, and letting in dust and daylight. With a living space on one side and a shop on the other, he wanted to keep out wind, rodents, and rain without replacing the entire doors.
We see setups like this a lot on larger barns, shops, and commercial-style garages. So in this post, we’ll walk you through how we think about replacing worn bottom seals and weatherstripping on big doors like Mark’s — including what’s DIY-friendly, what usually requires a pro, and how we typically handle these calls.
How We Identify Worn Seals on Large or Commercial-Style Doors
When we come out to a property like Mark’s, the first thing we do is a simple set of checks that you can also do yourself:
- Light test: We close the door and turn off the interior lights. If we can see daylight under or around the door, we know the seals or weatherstripping aren’t doing their job.
- Feel for drafts: We slowly run a hand along the bottom and sides on a breezy day. If we feel air movement, we know there’s a gap that needs attention.
- Visual inspection: We look for cracks, flat spots, gaps at the corners, or sections where the seal has pulled out of the track. On older commercial doors, we often see the bottom rubber starting to “cup” or curl.
We also always note whether the doors are insulated or non-insulated. On Mark’s barn-dominium, all the doors were insulated commercial doors. That affects which seal profiles fit, how we price the job, and which upgrades we might suggest.
Different Types of Garage Door Bottom Seals We Work With
Most of the large and commercial-style doors we work on use one of these bottom seal systems:
- T-style or bulb seals: These slide into an aluminum retainer on the bottom of the door. We see these on a lot of 10x10 and 14x14 shop or warehouse doors.
- U-shaped (tube) seals: These create a deeper cushion and are helpful when the concrete is uneven or cracked. We often recommend these for older barns and shops.
- Single-piece vinyl bottom: More common on some residential doors; the seal is stapled or screwed directly to the bottom section.
When we’re on-site, we match what you have, or, if it makes sense, we’ll suggest an upgrade. For example, on a barn with rough concrete, we might recommend a heavier U-shaped seal for a better seal and longer life.
DIY: When We Encourage Homeowners to Tackle It Themselves
We’re always honest about what you can reasonably do on your own. For large or commercial-style doors, we usually break it down like this:
Good DIY Tasks
- Perimeter weatherstripping: We often recommend this as a DIY project if you’re comfortable with a drill or driver. You can usually replace the side and top vinyl weatherstripping without touching the springs or cables.
- Cleaning and lubricating: We suggest homeowners clean the bottom of the door and the concrete, remove dirt and old adhesive, and lightly lubricate metal retainer tracks (if present) before new seals go in.
- Minor adjustments: On residential-sized doors, adjusting the strike of the side weatherstripping is usually safe. For big commercial doors, we still recommend caution because of the door’s weight.
Steps We Recommend If You Try Bottom Seal DIY
If you’re determined to replace a bottom seal on a larger door yourself, these are the general steps we walk customers through on the phone:
- Measure carefully: We always tell folks to measure the door width twice. On 10x10 and 14x14 doors, being off even half an inch can cause a seal to pull out under load.
- Check your retainer style: Before you buy anything, we recommend you confirm whether your bottom retainer is a single- or double-channel and whether it needs a T-style or bulb seal.
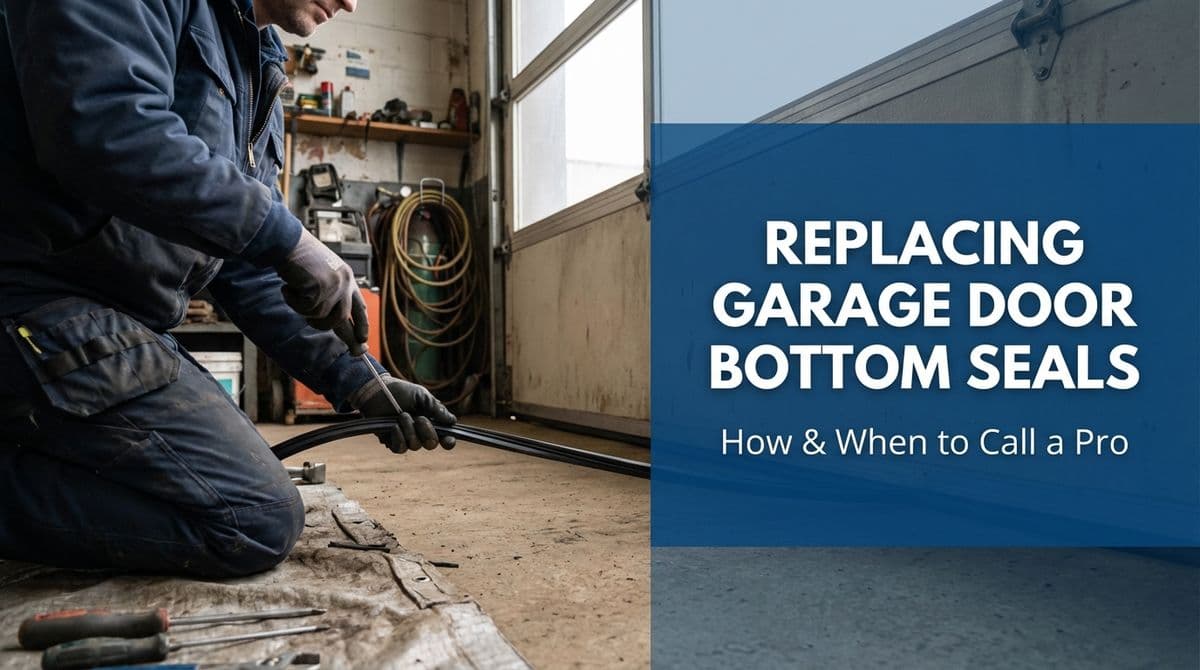
- Remove the old seal: We usually suggest doing this with the door fully open and supported, so the bottom isn’t dragging. Then slide or pull the old rubber out of the track.
- Clean the track: We have better luck and fewer callbacks when the track is completely free of rust, grit, and old seal fragments.
- Lubricate and install: A light soap-and-water solution or silicone spray can help the new seal slide in more easily. We always leave a little extra length at each end to prevent shrinkage gaps.
Even if you attempt the work yourself, we encourage you to stop immediately and call us if the door starts binding, feels heavier, or the cables don’t look right. On tall, heavy doors, a little misalignment can turn into a big safety issue.
Common DIY Mistakes We See on Big Doors
When we get called out after a DIY attempt, we usually see the same problems over and over:
- Wrong seal size or profile: A seal that’s too small won’t close gaps; one that’s too thick may keep the door from sealing or cause the opener to reverse.
- Cut too short: We routinely find bottom seals cut exactly flush with the door edge. We prefer to leave a little extra so the rubber can compress and shift without opening up daylight at the corners.
- Ignoring uneven concrete: On older slabs, we often recommend combining a heavier seal with concrete patching or a threshold seal. Just throwing on new rubber isn’t always enough.
- Working around active torsion springs: On big commercial doors, we never loosen or remove bottom fixtures without properly securing the door and dealing with spring tension — and we do not recommend homeowners touch that hardware at all.
When We Strongly Recommend Calling a Pro
On doors like Mark’s — heavy, insulated, and 10–14 feet tall — there are clear points where we tell homeowners, “Let us handle this.” We recommend bringing us in when:
- The door is hard to lift or won’t stay open: That’s a balance or spring issue, not just a seal problem.
- The bottom retainer is damaged or bent: We often have to remove and replace the aluminum retainer, which is tied into the structure of the bottom section.
- You have multiple tall doors: On a property with several 10x10 or 14x14 doors, we can usually replace all bottom seals and tune the doors in one efficient visit.
- The opener is commercial-grade: We make sure safety limits and force settings are properly adjusted after new seals are installed.
How We Typically Price and Schedule Seal Replacement
On calls like Mark’s, we usually start with a quick phone conversation to confirm:
- Number of doors (for him: one 14x14 and three 10x10)
- Door type (insulated commercial vs. non-insulated)
- Current issues (light, dust, rodents, water, draft)
From there, we either give a ballpark over the phone or schedule a site visit, depending on how custom the setup is. For multiple large doors, we often price the job per door with a discount for doing them all at once. During the visit, we also like to:
- Check the spring balance and hardware
- Inspect the tracks, rollers, and hinges
- Tighten and lubricate moving parts
That way, when we leave, you’re not just getting fresh seals — you’re getting doors that operate smoothly and seal properly all around.
Seasonal Maintenance Tips We Share With Our Customers
Once we’ve replaced seals and weatherstripping, we usually give homeowners a few simple maintenance tips so the new material lasts:
- Twice-a-year inspection: We suggest checking for cracks, stiff spots, or gaps each spring and fall.
- Keep the bottom clean: We recommend sweeping or rinsing away gravel and debris so the rubber doesn’t get cut or ground down.
- Condition in extreme climates: In very hot or cold areas, a light wipe with a rubber-safe conditioner can help prevent drying and cracking.
If you’re looking at your big shop or barn doors and seeing daylight, dust, or rodents finding their way in, we’re happy to talk through whether it’s a DIY weatherstripping project or a job where you’ll be safer and better off letting us bring the right materials, tools, and experience to you.